How to Get Good at Video Editing: A Beginner’s Guide to Improving Your Video Editing Skills
- London Video Editing Studio
- Feb 28
- 8 min read

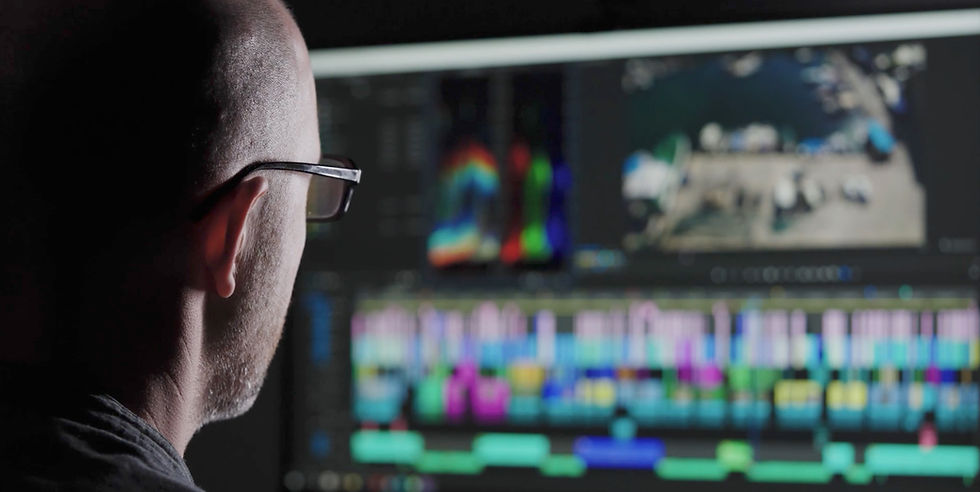
Getting good at video editing starts here: one editor, one timeline, and a quiet corner to practise cutting every day.
You’ve installed Premiere Pro, DaVinci Resolve or iMovie, watched countless tutorials, and still feel like you’re just dragging clips around and hoping it works. As a video editor in London, I see this constantly: people want to get good at video editing, but end up lost in software shortcuts and settings instead of actually improving their editing skills.
If you're trying to improve your video editing skills as a beginner, the solution isn’t another playlist of tips — it’s focus. Real progress in video editing comes from mastering the fundamentals: organising your footage, cutting and trimming clips with purpose, shaping pacing, and building edits around clear storytelling.
The best editors also learn how to clean up audio, use simple motivated transitions, and apply basic colour correction so footage feels consistent and professional. These are the skills that make an edit feel intentional rather than random.
You don’t need film school, pricey courses or a studio-grade setup to become a strong editor. What you need is a clear path, some discipline, and attention to the handful of skills that truly matter: clean cuts, strong storytelling, solid sound, and efficient workflows.
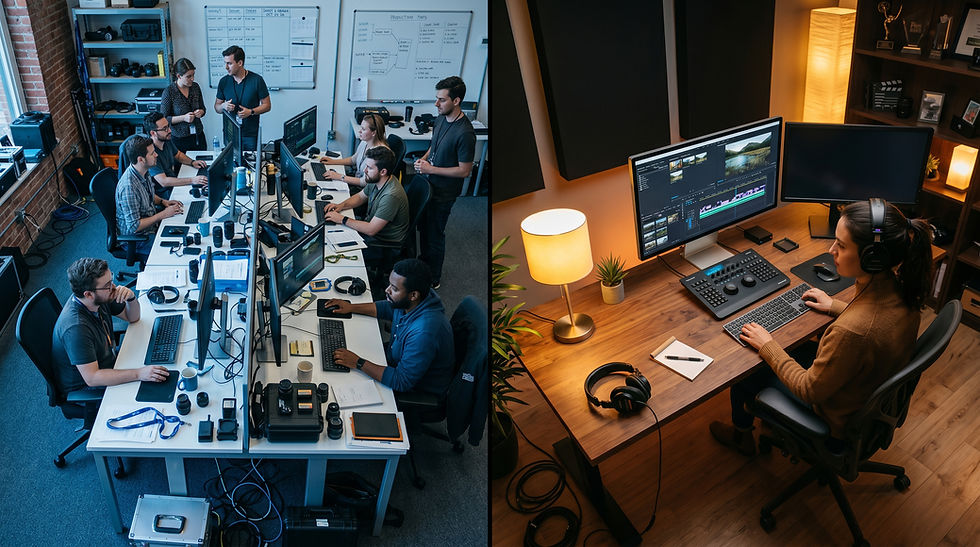
I work as a freelance video editor in London, cutting everything from brand films to YouTube content, and in this guide I’ll share a practical, step-by-step approach to take you from confused beginner to confident editor — and, with time, a genuinely great one.

Step 1 – Pick One Video Editing Software and Commit
If you’re always jumping between iMovie, Filmora, Premiere Pro and DaVinci Resolve, you never get past the “where’s that button?” stage. To actually get good at video editing, pick one editor and commit to it for at least six months.
I mostly work in DaVinci Resolve and Premiere Pro, but I still recommend iMovie or CapCut if you’re just starting and want to learn basic cuts and simple social edits. If you’re serious about client work, YouTube or colour grading, go straight to a pro tool like DaVinci Resolve, Premiere Pro or Final Cut Pro so you don’t hit a ceiling in a few months. Whichever you choose, set a simple rule: no more software hopping until you’ve finished at least ten projects in that one app.
Once you stop relearning new interfaces and start building muscle memory in a single editor, you free up your brain to focus on pacing, story and sound – the things that actually make you a better video editor.

Step 2 – Master the Basic Video Editing Skills First
Most beginners chase transitions, plug‑ins and effects before they can cut a simple scene cleanly. Clients I work with here in London aren’t impressed by fancy wipes; they care that their message is clear and the video feels professional from start to finish.
Focus on these core skills before anything else:
Cutting and trimming clips cleanly
Managing a timeline with multiple video and audio tracks
Syncing and balancing dialogue, music and ambient sound
Basic colour correction so shots match from cut to cut
Simple titles and on‑screen text that are easy to read
A great starter exercise I give to people I mentor is to cut a 30‑second sequence from random phone footage: tell a tiny story, remove every boring pause, and make the music and cuts feel locked together. If you can consistently deliver clean, watchable 30–60 second edits that have good pacing and solid audio, you’re already ahead of most people who are still experimenting with flashy transitions.

Step 3 – Create a Deliberate Video Editing Practice Routine
“Just practise” is technically true – but it’s too vague to help when you’re busy or overwhelmed. I treat editing like going to the gym: a simple, repeatable routine beats the occasional marathon session.
Try this weekly structure:
3 short edits per week (20–60 seconds each)
Each edit focused on one main skill (pacing, cutting to music, tightening dialogue, etc.)
Use whatever footage you have: phone clips, stock, screen recordings or old travel videos
The goal isn’t to create masterpieces – it’s to finish lots of small projects so your instincts, speed and confidence improve without you even noticing.

Step 4 – Study Great Editing to Train Your Eye
You can’t cut like a good editor if you don’t know what good editing actually looks and feels like. I’ve learned just as much from studying other people’s work as I have from any formal training.
Pick a film, series or YouTube channel whose editing you love and:
Watch one scene with the sound off; look at shot length, cuts and camera angles
Watch again with sound; notice how dialogue, music and sound effects drive the pace
Ask why each cut happens where it does, and how each shot makes you feel
Keep a folder or playlist of favourite edits and revisit them regularly. Borrowing structure, pacing ideas and shot choices (in a respectful way) is how most editors slowly develop their own taste and style.

Step 5 – Learn Shortcuts and Efficient Editing Workflows
Once you understand the basics, the quickest way to feel “good” at editing is to speed up. Clients notice editors who can work quickly without panicking – and that comes from knowing your tools inside out.
Start with a small set of shortcuts for everyday actions:
Play and pause
Cut / add edit
Ripple delete
Undo and redo
Zoom in and out on the timeline
Toggle snapping on and off
Add markers or flags
Save and quick‑save
Then tighten your workflow:
Name your tracks and important clips
Use bins or folders to organise footage, music and graphics
Build simple presets for colour, audio levels and titles so every project doesn’t start from zero
Efficient workflow might not be glamorous, but it’s one of the clearest differences between hobbyists and editors who can handle real‑world projects and deadlines.

Step 6 – Get Feedback on Your Video Edits and Iterate
At some point your own eyes will stop spotting what’s wrong – not because the edit is perfect, but because you’ve watched it too many times. That’s when feedback becomes your best tool.
Share your work with people who will be honest with you: other editors, filmmaking communities, or friends who watch a lot of the type of content you’re trying to make. When you ask for feedback, give them a simple checklist:
Was anything confusing or hard to follow?
Did any part feel too slow or too fast?
Did the music and sound work, or did anything feel off?
Was there a moment where you wanted to click away?
Don’t treat criticism as a verdict on your talent; treat it as a to‑do list. Make a new version that fixes the main notes, then move on to the next project. Over time you’ll notice the same issues coming up less and less.

Step 7 – From Good to Great: Start Thinking Like a Professional Editor
Once you’re comfortable cutting, syncing audio and delivering clean edits, you’re “good” by most people’s standards. To move towards “great”, you need to zoom out and think about the bigger picture.
Level up by:
Using consistent folder structures and clear file names
Backing up projects properly so you never lose work
Building templates for common jobs – interviews, YouTube intros, social cut‑downs
Spending more time on story and emotion instead of effects
Finally, start learning beyond the timeline. Basic filmmaking theory, storytelling, composition and sound design all feed directly into your editing. The more you understand how images and sound create emotion, the more intentional and powerful your edits will feel.
Common Beginner Video Editing Mistakes to Avoid
As you go, watch out for some classic traps that slow beginners down for years.
Big ones to avoid:
Constantly switching software instead of mastering one editor
Obsessing over plug‑ins, LUTs and transitions instead of fundamentals
Overusing trendy effects and speed ramps so the edit feels flashy but messy
Spending forever on one “perfect” project instead of finishing several good ones
Aim for “as good as I can make it this week”, export, get feedback, and carry those lessons into the next edit. Finished beats perfect every time.
Tools and Resources That Actually Help You Improve
There’s an overwhelming amount of learning content out there, so be selective. Pick one or two YouTube channels that match your software and style, and work through their beginner playlists in order instead of bouncing around random videos.
Combine those tutorials with your own practice projects so you’re immediately applying what you learn. Look for practice footage if you don’t have much to film yourself – stock libraries, open‑source footage, mobile clips from friends, or screen recordings all work. Grab some royalty‑free music and sound effects so you can experiment with pacing and sound design without copyright headaches.
Most importantly, build a simple learning plan you can stick to: one tutorial, one small project and one feedback session each week will move you further than cramming ten tutorials on a Sunday and then doing nothing for a month.

When It’s Better to Hire a Professional Video Editor
Sometimes the smartest move isn’t to become your own editor – it’s to bring one in. If you’re launching a new brand, releasing a flagship promo, or trying to keep up with regular content while running a business, learning everything from scratch can cost you more in time and lost opportunities than it saves in money.
A professional editor brings more than technical skill. They bring judgement about what to cut, how to structure your message, how to keep viewers engaged, and how to make your footage look and sound its best on the platforms you care about. They can also help you build templates and workflows so future edits are much faster.
If you’re determined to learn it yourself, hopefully this guide has given you a clear path to start getting genuinely good at video editing! But if you're realizing you'd rather hand the timeline over to someone else...
Ready to Outsource Your Video Editing?
I work as a freelance video editor here in London, helping brands, agencies, and creators make their footage look and sound its absolute best. If you'd rather focus on growing your business than on learning timelines and keyframes, I can save you hours of frustration.
View my showreel and hire me for your next project at videoeditorlondon.co.uk

Comments